2 May 2017
First steps with Archireport Web

First steps with ArchiReport for iPad
You’ll find here the essentials tips to take a good start with Archireport .
Account preferences
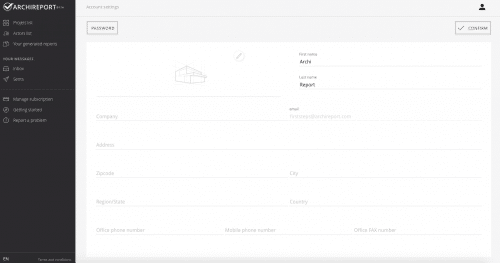
The first things that you need to set up are your account preferences as it will appear in all your reports. To do that, click on 
You will also be able to add your own logo. This logo will appear on all reports headers. You can download it directly from your computer.
Projects configuration
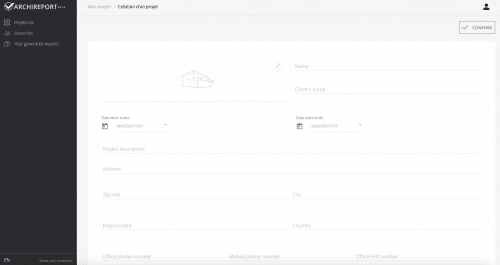
Once you’ve updated your account preferences, you can create your first project. To do that, press on “Add a project” and fill the project’s informations. Then you can add your stakeholders, works and documents.
Let’s start with the stakeholders. You can add your contacts manually by clicking on “Add Stakeholders”. You can also import a list of contacts using the “Import Vcard Contacts”.
Then, you can create the multiple project’s works. To do that, click on “Add a work” and fill the infos. To link one or more stakeholders to a work, click on “Manage stakeholders”.
You will also be able to store all the documents that you will need during your project. To do that, create new folders and import your documents in it or add directly the documents (building permits, plans, …).
First visit
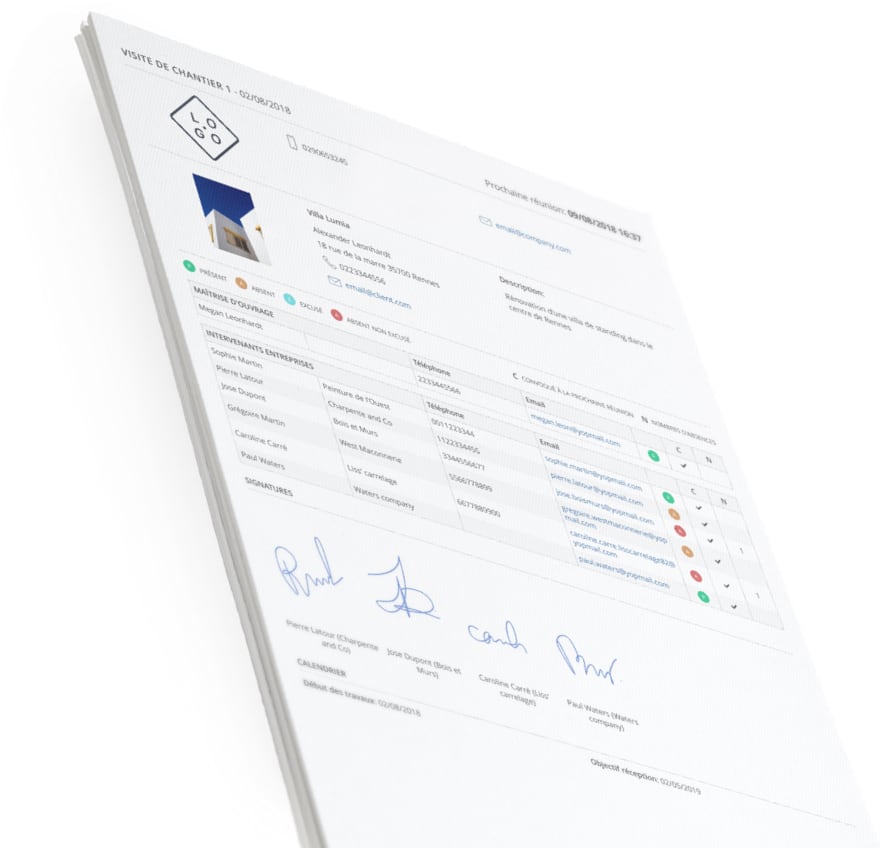
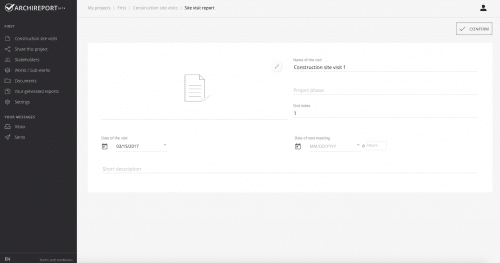
To start, create a new visit. You will then be able to manage the stakeholders’ attendance. To do that, select the stakeholders concerned by the visit and check if they are present, absent, excused or not excused. You can also summoned them to the next meeting.
Then you can select the works concerned by the visit.
Create and edit your remarks
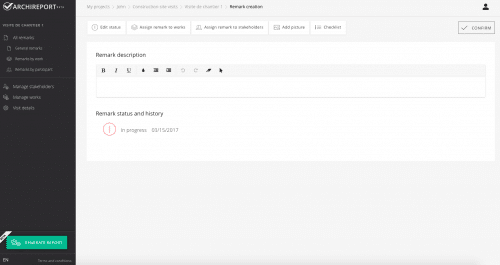
Archireport can adapt to your methodology as you can create your remarks by works, stakeholders or plans. You are free to choose your preferred method. Click on “Add a remark” and start editing it. Then you can use a wide range of tools to get a more visual remark (Photos, checklist…).
You will also be able to link the remark to a stakeholder or a work if it’s not done yet. To do that, click on “Assign remark to works” or “Assign remark to stakeholders” and select the concerned Work or Stakeholder.
Generate and send your remarks
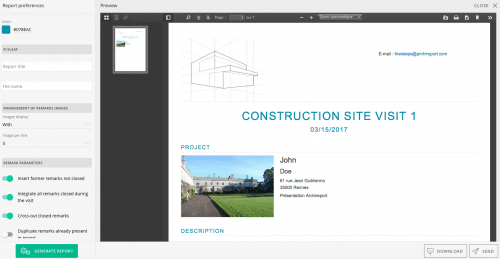
Once your visit is done, you can directly send your report. Click on “Generate report” and choose the various report options using the different settings of the left column. You can also share the project with your assistant by exemple if you someone else to proofread the report before sending it. Once sent, you will be able to check if the recipients have opened your report from your computer in the “Sent messages” section.
